Wednesday, May 30, 2012

Detail of Quilting from Quilt Shows Past

Quilter's are a very aspiring group.  We aspire to master our craft from the first piece cut to the last stitch of the binding.  Mastery, it is a lifelong journey I think.  My life's philosophy is "learn something new everyday".  I do that with quilting . . . learn something new with each quilt.

Machine quilting is a particularly vexing part of quiltcraft to master.  These pictures are all masterful. The quilting is not necessarily the right quilting for a quilt in everyday use . . . but they inspire, and I aspire.

The pictures are all detail pics of larger quilts that were shown at quilt shows over the years. I apologize to the quilters who made these quilts that I cannot give you credit because of course I did not record such details as we wandered through the show. If you recognize a quilt, please let me know so credit can be given!

Hearts, Feathers and Pebbles oh my!

Quilt body of the feather heart motif border above


For a border.  Heavy background quilting
gives the feathers a trapunto effect
I LOVE this!


McTavishing . . . 
with a butterfly amid the background swirls


A very simple pieced piecing pattern
made spectacular by the mix of
traditional feathers and erratic pebbles


I would put this quilting in the category of
thread work.  This would be very fun to try.


Wow. Just wow.


Pebbles take FOREVER.  Midway you think you're
nuts for doing them.  Ah, but the end result!


Fanciful thread work with a structured background


Free hand. Something for the quilter who is
loathe to take the time to mark!


The background pebbles are all under 1/2 inch!


This one is hand quilted.  Isn't the block darling?


Tesselating fish!


Free hand.  No marking, but forethought needed.


More free hand.


The fern fronds are amazing.
Bet they took a long time!


Background pebbles with applique.


Free hand, no marking.
(Guess who doesn't like marking!)


Texture!  Bead work! Thread Color!


The applique is so free and fluid . . . all that is needed
is a free form background to set it off.

Sunday, May 27, 2012

Quilts from Quilt Shows

These pics were taken at quilt shows over the years.  They are stunning and remain stunning years later.  They inspire me.

I apologize to the artists that I do not know who you are to give you due credit for your beautiful and inspiring work.  If anyone knows the quilters who made these beautiful quilts, I would be appreciative.

Seattle Quiltfest 2004
Detail of a larger quilt . . . Love the soft liquid colors

Quilter Found!
River Run by Cassandra Williams, Grants Pass Oregon
http://www.msquilters.com/cgi-bin/imcart/display.cgi?item_id=award01&cat=6&page=1&search=&since=&status=&title=

Seattle Quiltfest 2006
Detail of Crazy Quilt . . . a little ghost figure!

Seattle Quiltfest 2006
One of my all time favorite quilts

Seattle Quiltfest 2008
The beauty of the simple subject and skillful execution

Seattle Quiltfest 2006
The butterfly has that velvety look that butterflies have

Seattle Quiltfest 2006
African fabrics and strong geometrics

Seattle Quiltfest 2006
Very elegant composition.  The angular border really sets off the feathered star

Seattle Quiltfest 2006
I wonder if the offset border was a happy mistake . . . it really sets the eye line back to the peaches.


Detail of peaches

Seattle Quiltfest 2006 ... Detail of The Whale Rider

I love how the Storm at Sea background animates the young girl
And the whole quilt ...

The Whale Rider
Maorie Song of the Whale
by Judy Eselius
http://www.c2cquilters.com/judy_eselius.htm

Seattle Quiltfest 2006
Best of Show
Kitty Corner by Janet Fogg

http://janetfoggquilts.home.comcast.net/~janetfoggquilts/quilts/KittyCorner/KittyCorner.html

I'm thinking all quilters have seen this amazing quilt, but this pic gives you an idea of the scale

Seattle Quiltfest 2008
Best of Show
Poppy Soliloquy by Sandra Leichner

http://www.sandraleichner.com/gallery/gallery.html
Detail of Poppy Soliloquy . . . Dragonfly with jet stream!!


Thursday, May 24, 2012

Mark the Quarter Inch Line


Use tape to mark your sewing table so you have a permanent guide for the quarter inch line.

This is especially helpful when sewing half square triangles.

Align the points of fabric squares with the tape and the presser foot and easily sew a 1/4 inch seam on either side.

It is also helpful having that extended 1/4 inch line to align the fabric edge as you feed it through.


Make your own Sewing Machine Cabinet Table


When I got the Bernina I realized I had to have a cabinet for it.  I was trying to learn free motion quilting and the extender table thing just wasn't working for me.

But the cabinets can be quite expensive.  So I improvised.


What you need:

1   A sturdy desk with a removable top drawer
2   Piece of 1/4 inch plexiglass for the insert
3   Router
4   1/2 inch piece of plywood for the machine base
5   A boyfriend, hubby or dad willing to do your bidding

I knew I couldn't pull off my plan, but fortunately my boyfriend could.

The only critical dimension is the height of the drawer opening.

Measure how high your machine's throat plate is from the table top - the drawer will need to be at least this tall or else the machine will sit too high.

When you're looking for a desk, look closely at what is supporting the drawer. There needs to be a way to set a sturdy base for the machine to sit.

We used a 1/4 inch piece of aluminum plate for the machine base (Chris is a welder with access to cool stuff like aluminum plate).


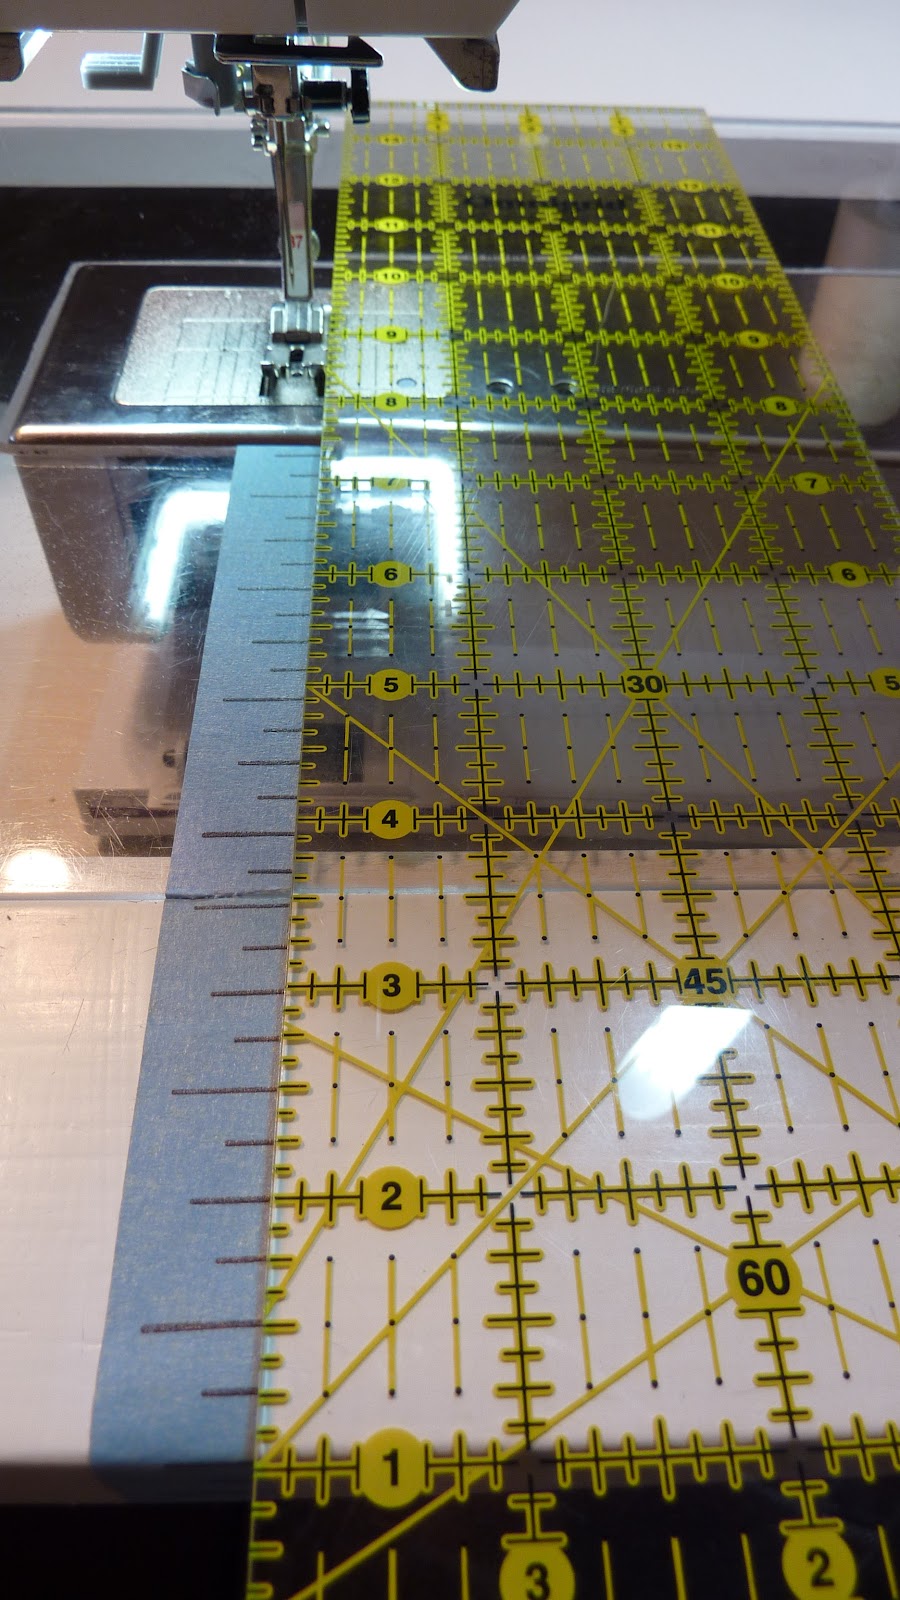
Determine the size opening you want for the machine and make the cut.  The opening is then routed the depth of plexiglass that will be the insert.


Can't for the life of me remember how Chris did the detail cutting on the plexiglass to snug the curves of the Bernina, but he did a fabulous job!


The plexiglass is cut in a 'u' shape so there is room to easily access the power and foot peddle plugs.

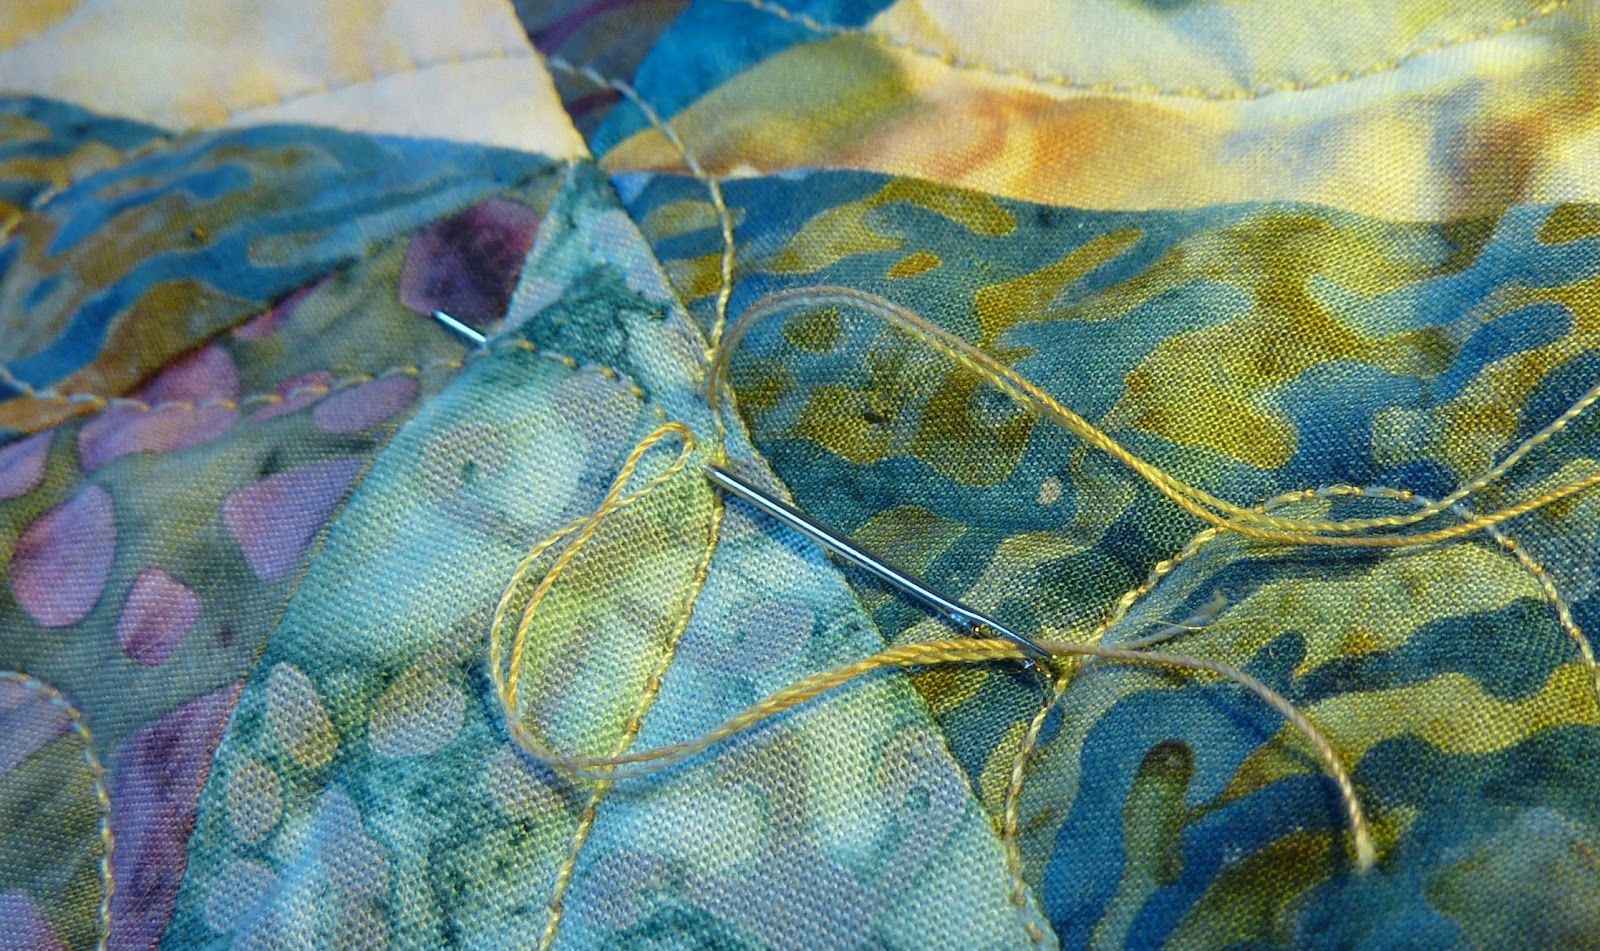
Nice flat surface to work on!


Wednesday, May 23, 2012

More Favorite Quilting Tools . . .

Telescoping Magnet

Easy way to find and pick up wayward pins.

Get these at a guy store (like Harbor Freight)
for a quarter of the price you will find them at a girl store.

Easy Thread/Self Threading Needle

If you do your own machine quilting these are indispensable for dealing with thread ends.  I always pull the bottom thread to the top so there are no birds nests (or eagle aeries) on the back.

Thread snaps in . . .  no needle threading

Insert the needle along the sew line,
snap thread into the needle, 
pull through and trim ends.


The June Taylor 1/2 inch Shape Cut

A great time saver when cutting strips and pieces - you can cut multiple pieces without re-positioning the ruler.  It is easy to nick the rotary cutter blade, but if you drop the blade thru the slots when positioning instead of going up thru the teardrop, you can reduce the nicks.  Nicks and all tho, I use this ALL THE TIME.

Also very useful to square blocks up to 12 inches.
(Circle is my own marking for squaring some circle blocks.)

Thursday, May 17, 2012

Long Finished Baby Quilts

These quilts were all completed and gifted away during the last decade.

For my niece's first baby
Alivia (2004)
The back of Alivia's quilt


For Cecelia, my niece's 2nd baby (2007)
By the way, I confess.
I'm a ClutterBug . . . this picture is testimony to the struggle.
I so admire those who can maintain order.
For Rachel, girl No. 3 (2007) 
Ocean Waves Baby Quilt (2008)
Ocean Waves back
Ocean Waves in EQ6.